1. Set Your Budget
The first step in any pool installation project is to determine your budget. Pools come in various sizes, materials, and styles, each with different price points. Your budget will guide the entire project, influencing choices from the type of pool you select to additional features like lighting, landscaping, and water features.
- Factors to Consider:
- Pool size and shape
- Material (vinyl, concrete, fiberglass)
- Installation costs
- Maintenance and operational costs
- Extra features like heaters, covers, or decks
2. Choose the Right Type of Pool
The next decision is selecting the type of pool that best suits your space, preferences, and budget. The most common types of pools include:
- Inground Pools: Permanent structures, usually made from concrete, vinyl, or fiberglass. These are the most customizable and durable but also come with higher costs and longer installation times.
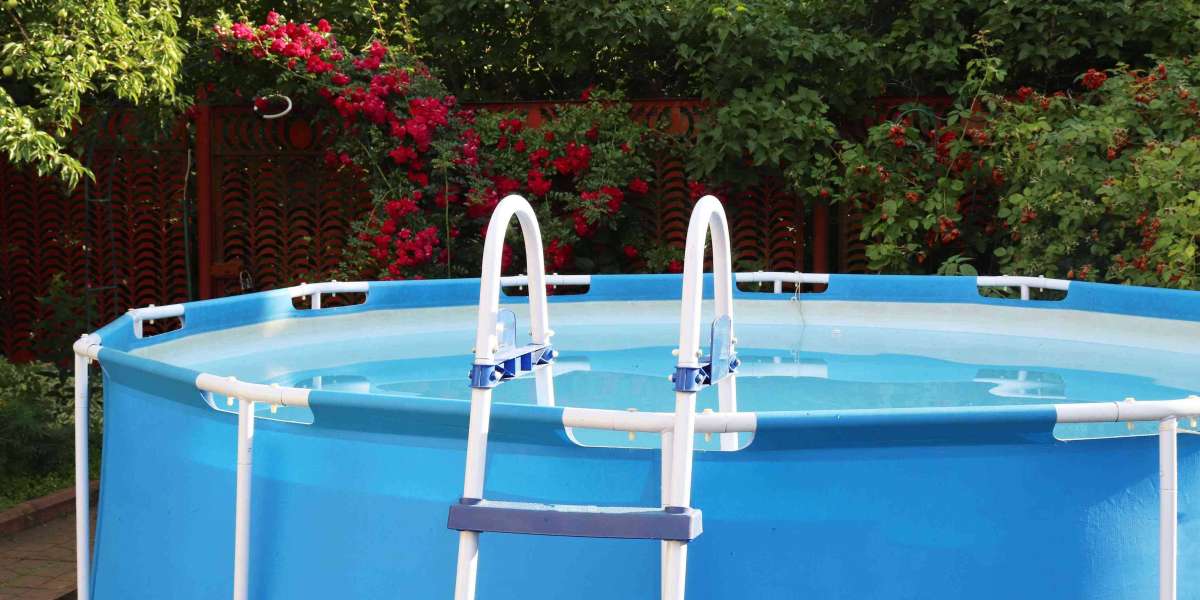
- Above-Ground Pools: More affordable and quicker to install, but generally smaller and less durable than inground pools.
- Fiberglass Pools: Known for their low maintenance and durability. They are pre-made and installed as a single piece, speeding up the installation process.
Choosing the right pool will depend on your budget, backyard space, and intended use.
3. Select a Location
Choosing the best location for your pool is crucial. Factors like sun exposure, wind direction, proximity to utilities, and drainage will influence both the design and long-term maintenance of your pool.
- Optimal Sun Exposure: The pool should be in an area that gets plenty of sunlight to keep the water warm and reduce heating costs.
- Wind Protection: Too much wind can cool your pool water and increase evaporation, making it harder to maintain.
- Proximity to Utilities: Ensure easy access to electrical and plumbing lines for efficient pool operation.
Consult with a professional to evaluate the best spot in your yard, taking into account local building codes and zoning restrictions.
4. Hire a Professional Contractor
Choosing a reputable and experienced pool contractor is essential for a smooth installation. The contractor will manage all aspects of the project, from excavation to the final finishes. Research local contractors, read reviews, and ask for references before making your decision.
- What to Look For:
- Licensing and insurance
- A portfolio of previous work
- Clear communication and timeline expectations
- Warranty on workmanship and materials
Hiring the right contractor will ensure that the project is completed safely, on time, and within budget.
5. Obtain Permits and Approvals
Before any construction begins, you’ll need to secure the necessary building permits from your local authorities. Building codes vary by location, and it’s important to comply with regulations regarding pool placement, fencing, and safety features.
- Common Permit Requirements:
- Zoning approval
- Utility line location
- Safety barrier or fencing guidelines
- Electrical and plumbing inspections
Work closely with your contractor to ensure all required permits are obtained before construction begins.
6. Excavate the Site
Once permits are in place, it’s time to prepare the site. Excavation is the process of digging the hole where the pool will be placed. This is typically done with heavy machinery and may take a few days, depending on the size of the pool and ground conditions.
- Considerations During Excavation:
- Soil type: Rocky or unstable soil can complicate the excavation process.
- Tree removal: Roots may need to be cleared to create space for the pool.
- Drainage: Proper drainage solutions should be implemented to prevent water from pooling around the structure.
Excavation is a critical step that lays the groundwork for the entire project, so ensuring accuracy is key.
7. Install the Pool Structure
Once the site is prepared, the installation of the pool shell or structure begins. Depending on the type of pool, this could involve setting a prefabricated fiberglass shell, pouring concrete, or installing a vinyl liner. The installation process will differ based on the materials used:
- Concrete Pools: Reinforcing steel is placed, followed by the spraying or pouring of concrete. This is a time-consuming process but allows for full customization.
- Fiberglass Pools: The shell is pre-manufactured and placed into the excavated hole, making it a quicker installation.
- Vinyl Pools: A steel or polymer frame is installed first, followed by the placement of a vinyl liner.
Once the pool structure is in place, plumbing and electrical systems are installed, which power the pool’s filtration system, lights, and water features.
8. Add Pool Features and Landscaping
Now that the pool is installed, it's time to enhance it with additional features like lighting, water features, and landscaping to create a complete backyard oasis. Consider adding:
- Pool Lighting: Underwater lighting not only extends swimming time after dark but also enhances the aesthetic appeal of the pool.
- Water Features: Waterfalls, fountains, or jets can add a luxurious feel to your pool.
- Decking: Materials like concrete, stone, or wood decking provide a finished look and offer space for lounging and outdoor furniture.
- Landscaping: Plants, trees, and decorative features can add privacy, shade, and beauty around your pool area.
9. Fill the Pool and Test Systems
After all the construction is completed, your pool will be filled with water, and the filtration and heating systems will be tested. Your contractor will check for any issues and ensure that everything is functioning properly, including:
- Pump and Filter: The filtration system will be tested to ensure it keeps the water clean and clear.
- Heating System: If you’ve opted for a pool heater, it will be tested to confirm that it heats the water efficiently.
- Water Chemistry: Balancing chemicals like chlorine and pH levels is essential to ensure safe swimming conditions.
10. Safety Features and Final Inspection
The final step before enjoying your new pool is to ensure that all safety features are in place and the pool passes its final inspection. Safety is crucial, especially if children or pets will be around the pool area.
- Fencing: A fence with a self-latching gate is often required by law to prevent accidents.
- Alarms and Covers: Pool alarms and safety covers provide an extra layer of protection.
- Slip-Resistant Surfaces: Installing slip-resistant materials around the pool can prevent accidents.
Once everything is up to code, you can complete the final inspection and start enjoying your new pool!
Conclusion
Installing a pool is a big investment that requires careful planning, the right professionals, and attention to detail. By following these 10 essential steps, you can ensure a smooth, efficient, and successful pool installation process. From setting your budget to implementing safety features, every step is crucial to creating a beautiful, functional, and safe pool that enhances your home and lifestyle.